Sealing windows
How To Seal Windows with X-Seal
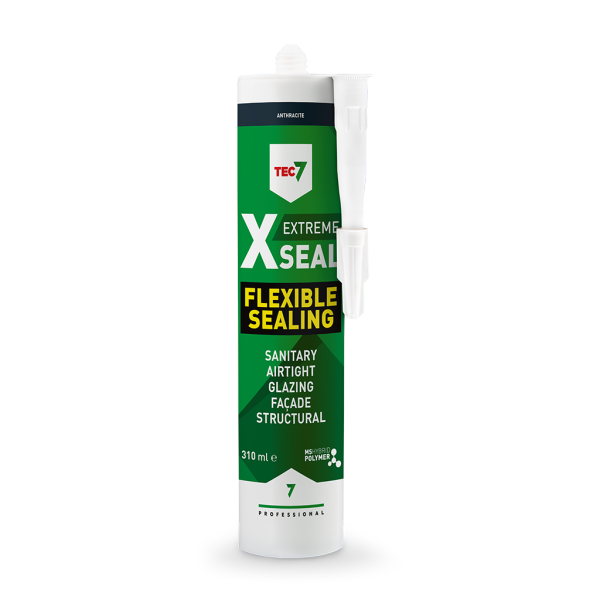
Of course, you can seal windows with Tec7, but X-Seal was specially developed to be the ultimate sanitary sealant for all challenging areas. Extreme cases where X-Seal is required could include: areas with a very high propensity for mould or bacterial growth, areas that will be exposed to aggressive cleaning chemicals, or intense UV radiation (such as windows!).
Step 1: Preparation
Important for a permanent optimal adhesion:
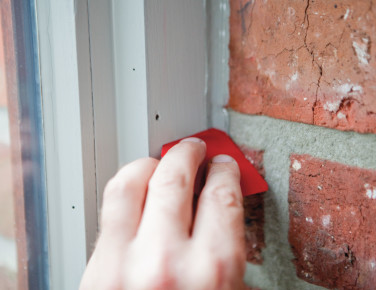
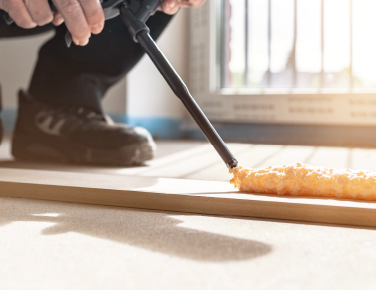
Remove loose dirt and dust with a brush or hoover.
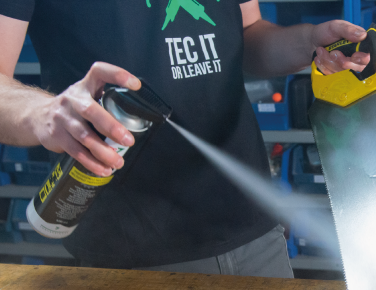
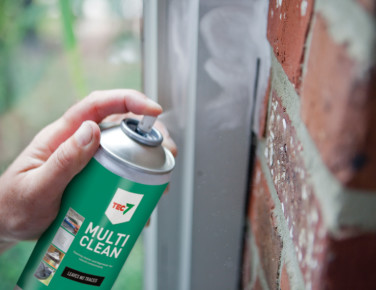
Clean the substrate using Tec7 Cleaner and/or Multiclean: apply, leave for a while, rub off with a clean, lint-free cloth and remove residues with a second clean cloth.
Important for a perfect result:
Cut the nozzle of the X-Seal cartridge at an angle of 45°. The opening must be slightly smaller than the intended joint.
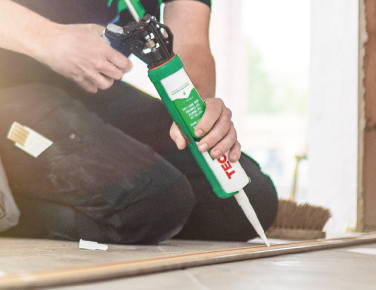
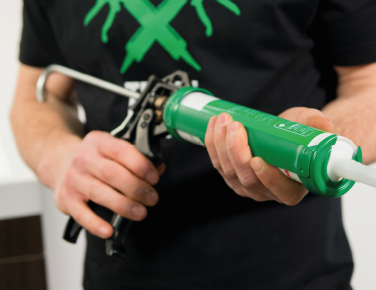
Use a Tec7 Gun, with the black plastic lip at the back facing upwards: when the trigger is released, the piston goes back a little so that there is no more pressure on the cartridge, and the sealant does not run.
Step 2: Sealing
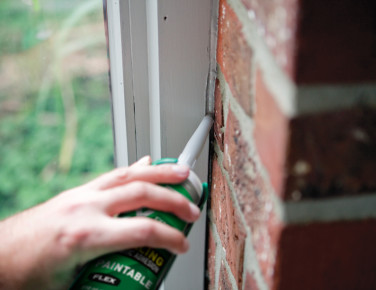
Hold the Tec7 Gun at an angle of 45°. So the sealant can always touch both edges.
Dispense enough product to fill the joint.
Step 3: Finishing
For the finishing, the surface determines the product to be used:
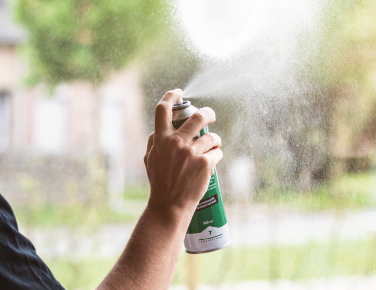
Use Tec7 Cleaner on non-porous surfaces such as PVC, metal, hardwood and lacquer.
Use HP Clean on porous surfaces such as natural stone, concrete or brick.
In case of doubt or combined surfaces, use HP Clean.
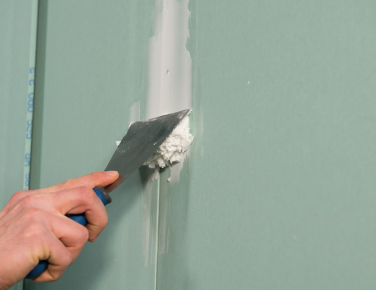
Moisten a joint spatula (such as the Perfect Finish tool) with the chosen cleaner and smooth the joint off.
Remove excess sealant from the joint spatula with Powerwipes. Re-moisten your joint spatula with the selected cleaner.
Remove any excess sealant with the cleaner you have already used.
Wait around 2 hours before painting over the joint.
