
How to Fix a Leaking Roof with Tec7
How to Fix a Leaking Roof with Tec7
A leaking roof doesn’t just let in water — it can damage insulation, stain ceilings, and even weaken structural timber if left untreated. The good news is that many common leaks can be fixed quickly and effectively without replacing your roof. Using Tec7 WP7-101 Liquaseal, you can create a long-lasting waterproof repair in just a few steps.
This guide is designed for homeowners, DIY enthusiasts, and handymen who want a practical, step-by-step solution to roof leaks.
Roof leaks usually start small but quickly turn into major problems if ignored. Common causes include:
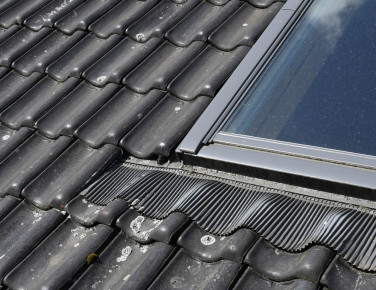
Cracks, or damage to roof tiles
Damaged or poorly sealed flashing around chimneys and roof lights
Leaking joints or seams
Blocked gutters and downpipes overflowing into facia and sofit
Ageing EPDM, metal, or bitumen roofing membranes
Understanding the source of the problem helps ensure your repair lasts.
Why Use Tec7 WP7-101 Liquaseal?
Tec7 WP7-101 is a liquid MS polymer that cures into a durable, flexible membrane. It’s the go-to choice for roof leak repairs because:
100% waterproof with just a 1 mm application
UV-resistant and walkable after curing
Strong adhesion to tiles, metal, concrete, wood, EPDM, and more
Rain-resistant in around 2 hours — ideal when you can’t predict the weather
Can be applied with a brush or trowel
For DIY users, the biggest advantage is that WP7-101 is both forgiving to apply and long-lasting, making it a reliable fix for common roof issues.
What You'll Need
Before you start, gather the following:
Brush, spatula, or trowel for application
Cleaning brush (stiff bristle)
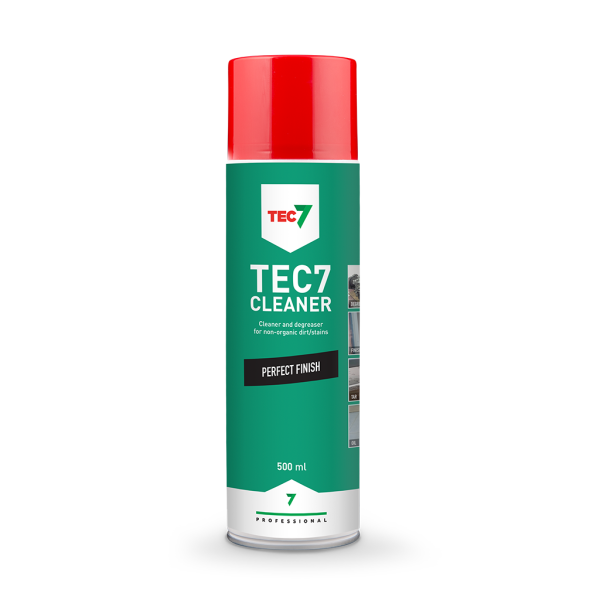
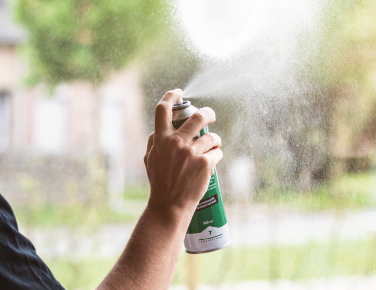
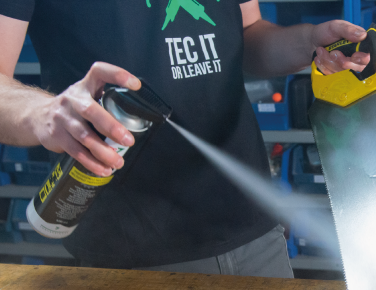
Degreaser or cleaner (e.g., Tec7 Cleaner)
Fiberglass mesh (for reinforcing larger cracks or weak areas)
Step-by-Step Roof Leak Repair with Tec7
Step 1: Locate the Leak
Check inside your home for water stains or damp spots. On the roof, inspect joints, flashing, gutters, and seams where water can penetrate.
Step 2: Clean & Prepare the Surface
Remove loose material, dirt, moss, or old sealant.
Brush thoroughly, clean and degrease the area.
Let the surface dry as much as possible (though WP7-101 can be applied on slightly damp surfaces).
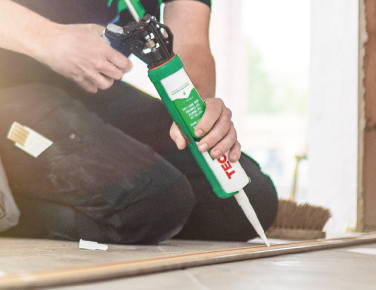
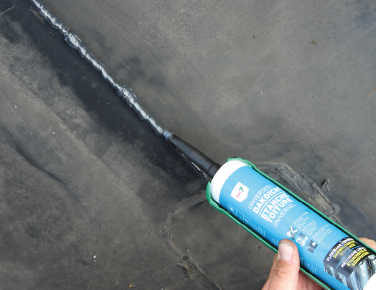
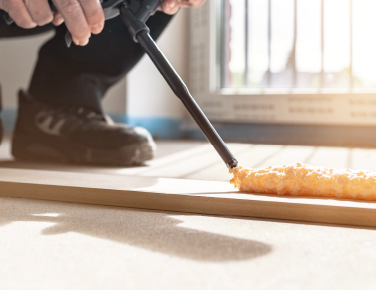
Step 3: Apply Tec7 WP7-101
Use a brush or trowel to apply a layer of at least 1 mm thickness.
Pay extra attention to corners, overlaps, and joints.
For best results, work the sealant firmly into the surface.
Step 4: Reinforce Weak Areas (Optional)
If the substrate is fragile or the crack is large, press fiberglass,(scrim tape), mesh into the wet sealant, then cover with another coat.
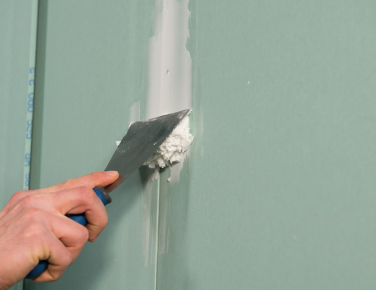
Step 5: Finishing
Smooth out edges for a neat, watertight finish.
Clean tools immediately with Tec7 Cleaner.
Allow at least 2 hours for the repair to become rain-resistant.
Safety & Best Practices
Avoid working on steep or dangerous roofs without professional help.
Apply only in conditions above freezing (ideally 5°C+).
Do not attempt DIY repairs for large structural damage — call a professional roofer instead.
Troubleshooting & FAQs
Can I apply WP7-101 on damp surfaces?
Yes, but avoid standing water. It adheres even if the surface isn’t fully dry.
How long before it’s waterproof?
The repair becomes rain-resistant after around 2 hours; full curing depends on thickness and weather.
Is it UV-resistant and walkable?
Yes — once cured, it’s UV-stable and safe to walk on.
Will it work on all roofing materials?
It bonds to most materials (tiles, metal, EPDM, wood, concrete). On unusual substrates, test a small patch first.
WANT MORE INFO LIKE THIS STRAIGHT TO YOUR INBOX?
SIGN-UP TO OUR NEWSLETTER BELOW.
Products